

How to install an L - shaped aluminum cabinet?
Nov 27, 2025
Leave a message
Hey there! As a supplier of L-shaped aluminum cabinets, I'm stoked to share with you how to install one of these bad boys. L-shaped aluminum cabinets are not only super durable but also add a modern touch to any space. Whether you're looking to spruce up your kitchen, bedroom, or bathroom, these cabinets are a great choice. So, let's dive right in!
What You'll Need
Before you start the installation process, it's important to gather all the necessary tools and materials. Here's a list of what you'll need:
- Tools:
- Measuring tape
- Level
- Drill
- Screwdriver
- Stud finder
- Pencil
- Saw (if you need to cut the cabinet to size)
- Materials:
- L-shaped aluminum cabinet
- Screws
- Wall anchors (if you're not installing into studs)
- Silicone caulk
Step 1: Measure and Plan
The first step in installing an L-shaped aluminum cabinet is to measure the space where you want to install it. Use a measuring tape to measure the height, width, and depth of the area. Make sure to measure twice to ensure accuracy.
Once you have your measurements, it's time to plan the layout of the cabinet. Decide where you want the cabinet to be located and how you want it to be oriented. You may want to draw a rough sketch of the layout on a piece of paper to help you visualize it.
Step 2: Find the Studs
If you're installing the cabinet on a wall, it's important to find the studs. Studs are the vertical wooden beams that provide support for the wall. You can use a stud finder to locate the studs. Mark the location of the studs on the wall with a pencil.
If you're not able to find the studs, you can use wall anchors to secure the cabinet to the wall. Wall anchors are designed to provide additional support when you're not installing into studs.
Step 3: Assemble the Cabinet
Before you install the cabinet, you'll need to assemble it. Most L-shaped aluminum cabinets come with pre-drilled holes and hardware, making the assembly process relatively easy. Follow the manufacturer's instructions to assemble the cabinet.
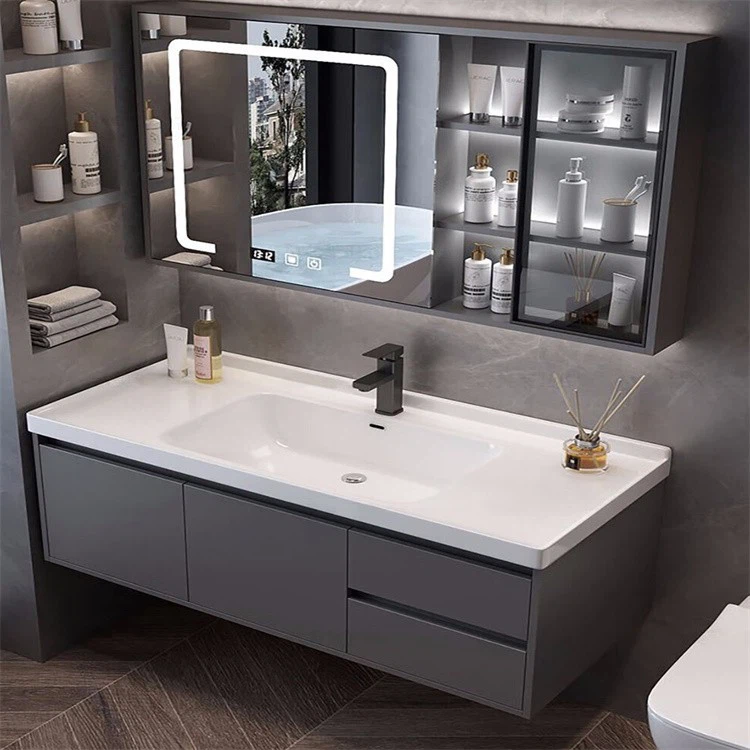

Once the cabinet is assembled, you may want to test the doors and drawers to make sure they open and close smoothly. If there are any issues, make the necessary adjustments before proceeding with the installation.
Step 4: Install the Cabinet
Now that the cabinet is assembled, it's time to install it. Start by positioning the cabinet in the desired location. Use a level to make sure the cabinet is straight and level. If the cabinet is not level, you can use shims to adjust it.
Once the cabinet is level, mark the location of the holes on the wall. Use a drill to create pilot holes in the wall. Make sure the pilot holes are the same size as the screws you'll be using.
Next, attach the cabinet to the wall using screws. If you're installing into studs, simply drive the screws into the studs. If you're using wall anchors, insert the wall anchors into the pilot holes and then drive the screws into the wall anchors.
Step 5: Seal the Edges
Once the cabinet is installed, it's important to seal the edges to prevent moisture and dirt from getting inside. Use silicone caulk to seal the edges of the cabinet. Apply a thin bead of caulk along the edges of the cabinet and use a caulk gun to smooth it out.
Step 6: Add the Hardware
Finally, it's time to add the hardware to the cabinet. This includes handles, knobs, and hinges. Follow the manufacturer's instructions to install the hardware.
Once the hardware is installed, you can test the doors and drawers again to make sure they open and close smoothly. If there are any issues, make the necessary adjustments.
Tips and Tricks
- Make sure to wear safety glasses and gloves when using power tools.
- If you're not comfortable installing the cabinet yourself, you may want to hire a professional installer.
- Consider using a cabinet liner to protect the inside of the cabinet.
- If you're installing the cabinet in a bathroom or kitchen, make sure to choose a cabinet that is resistant to moisture and humidity.
Conclusion
Installing an L-shaped aluminum cabinet is a relatively easy DIY project that can add a lot of value to your home. By following these steps and tips, you can install the cabinet yourself and save money on installation costs.
If you're in the market for an L-shaped aluminum cabinet, be sure to check out our selection of Aluminium Storage Cabinet, Aluminium Cupboard Bedroom, and Aluminium Toilet Cabinet. We offer a wide range of styles and sizes to choose from, so you're sure to find the perfect cabinet for your needs.
If you have any questions or need further assistance, please don't hesitate to contact us. We're here to help you with your cabinet installation project.
References
- Manufacturer's instructions for the L-shaped aluminum cabinet
- Home improvement books and magazines
- Online tutorials and videos